If you’ve checked out the inaugural post of this learning series, then you’d have gotten a glimpse into some of the tools for Chinese calligraphy. In this post, I’m going to give a practical introduction of all of the main tools, along with some historical and cultural backgrounds. Given how integral calligraphy is in Chinese culture, many of these devices go beyond simple writing tools, and are deeply embedded into Chinese folklores and literature.
Four Treasures of the Study
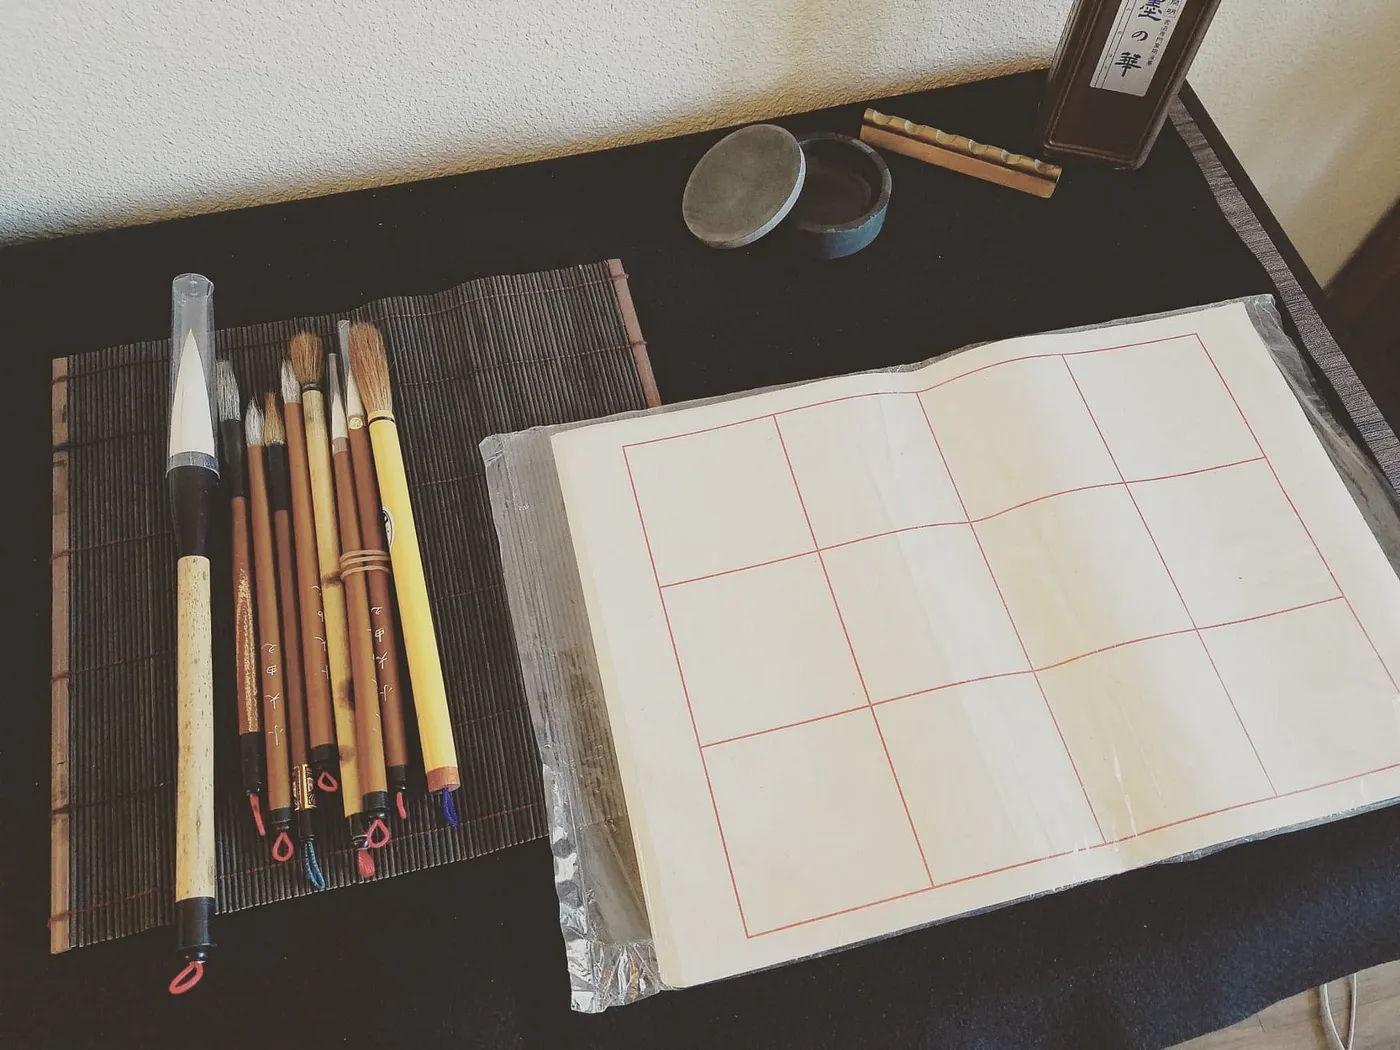
Four Treasures of the Study
Above is a photo of my calligraphy desk setup. And it includes all Four Treasures of the Study (文房四寶) — paper (紙), brush (筆), ink (墨), and ink stone (硯) — the four essential tools in Chinese calligraphy.
Paper / Rice paper
Fun Fact: the rice paper used in Chinese calligraphy is also called xuan paper (宣紙) or sumi paper. The xuan paper was first invented in the Tang Dynasty (600–900 AD), and it is known not only for its soft and absorbent texture, but also for its lifespan. A four word idiom in mandarin — 紙壽千年 (zhi shou qian nian) — whose literal meaning is “the paper with the longevity of a thousand years”, is used to refer to the xuan paper, which in practice, could be preserved in relatively well conditions for up to 2000 years. Thus making it the perfect medium for writing and painting.
Practical Guide: modern day xuan paper comes in various forms, as seen in the picture below. The gridded ones (right), which generally come in smaller sizes, and has a glossier surface, are best for practicing when you’re just starting off. The references lines make it easier to observe the relative positions of different strokes within a character, and the glossier surface doesn’t absorb the ink as much, making it easier to control. But don’t hesitate to try your hands on the proper xuan paper (left)! The activity in the inaugural post is a great way to start experimenting with these paper. And feel free to start practicing on them whenever you feel ready.
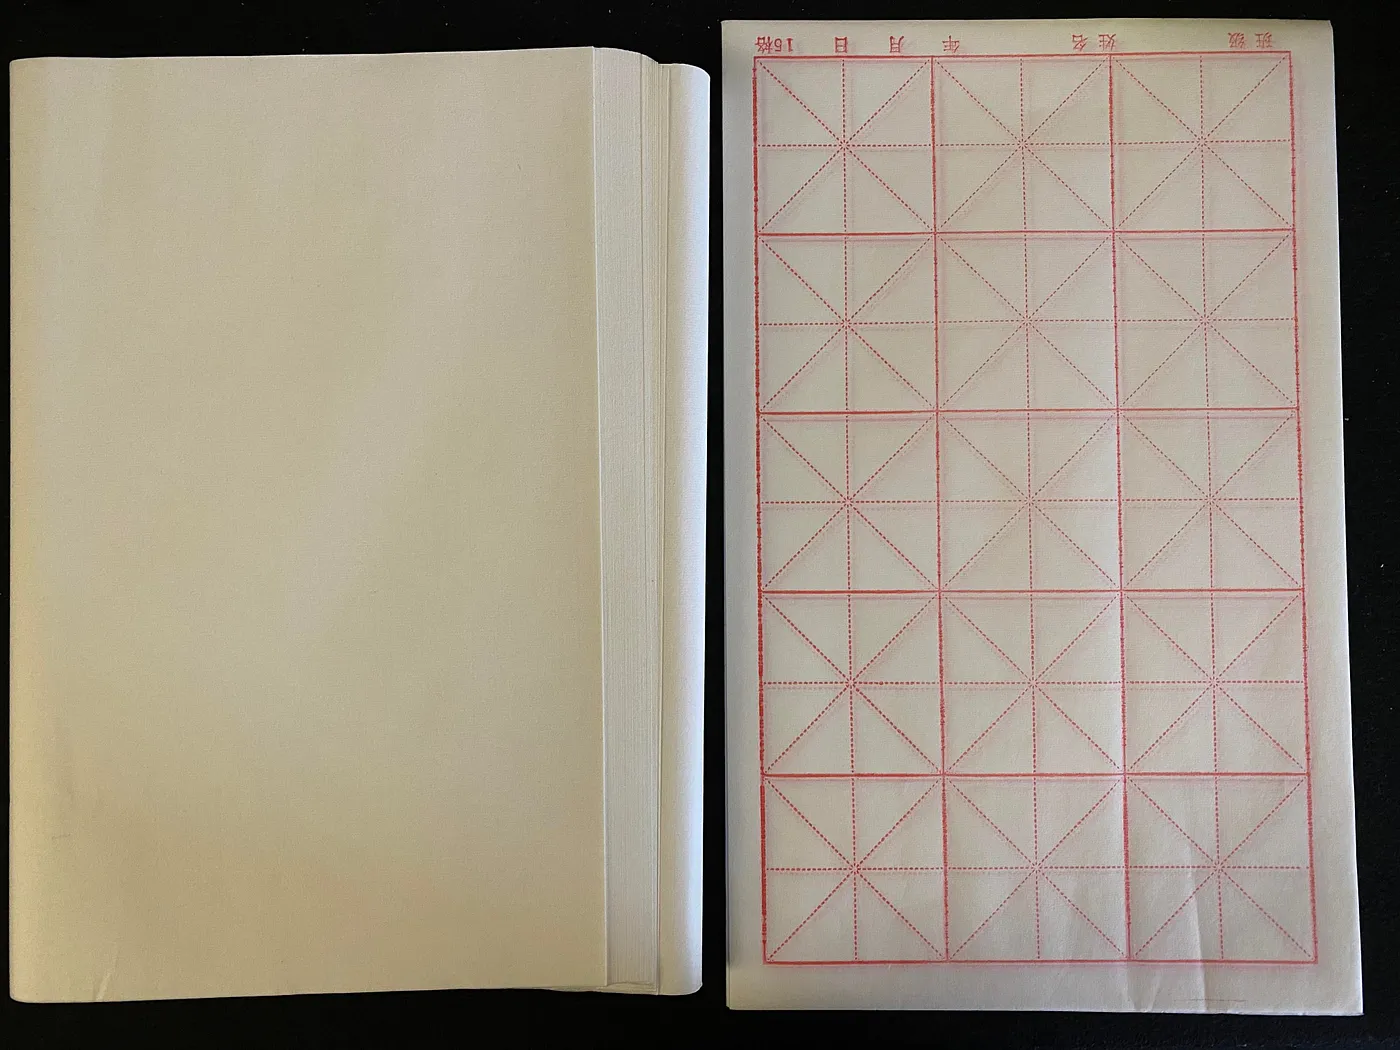
Xuan Paper
Calligraphy brush
Fun Fact: Both ancient and modern calligraphy brushes are mostly made from animal hair, but there are exceptions — there’s a Chinese tradition to take the hair from a baby’s first hair cut and make it into a calligraphy brush. Many parents do so as a momento for the child, but it is said that in ancient times, these brushes could bring good luck in the Imperial examinations.
Practical Guide: Chinese calligraphy brushes are often made of weasel or rabbit hair, and the shaft from bamboo or wood. Please don’t substitute the calligraphy brushes with Western watercolor or oil paint brushes! The latter often have very different designs that restrict the angles in which the brush could move, making them almost impossible to produce the delicate and varying strokes in Chinese calligraphy. If you’re starting with a brand new brush, the hair is most likely stiff as there’s gel to keep it in place. Wash it under warm water for a couple of minutes until the brush is no longer stiff and when you can no longer feel the gel. As for how to hold the brush:
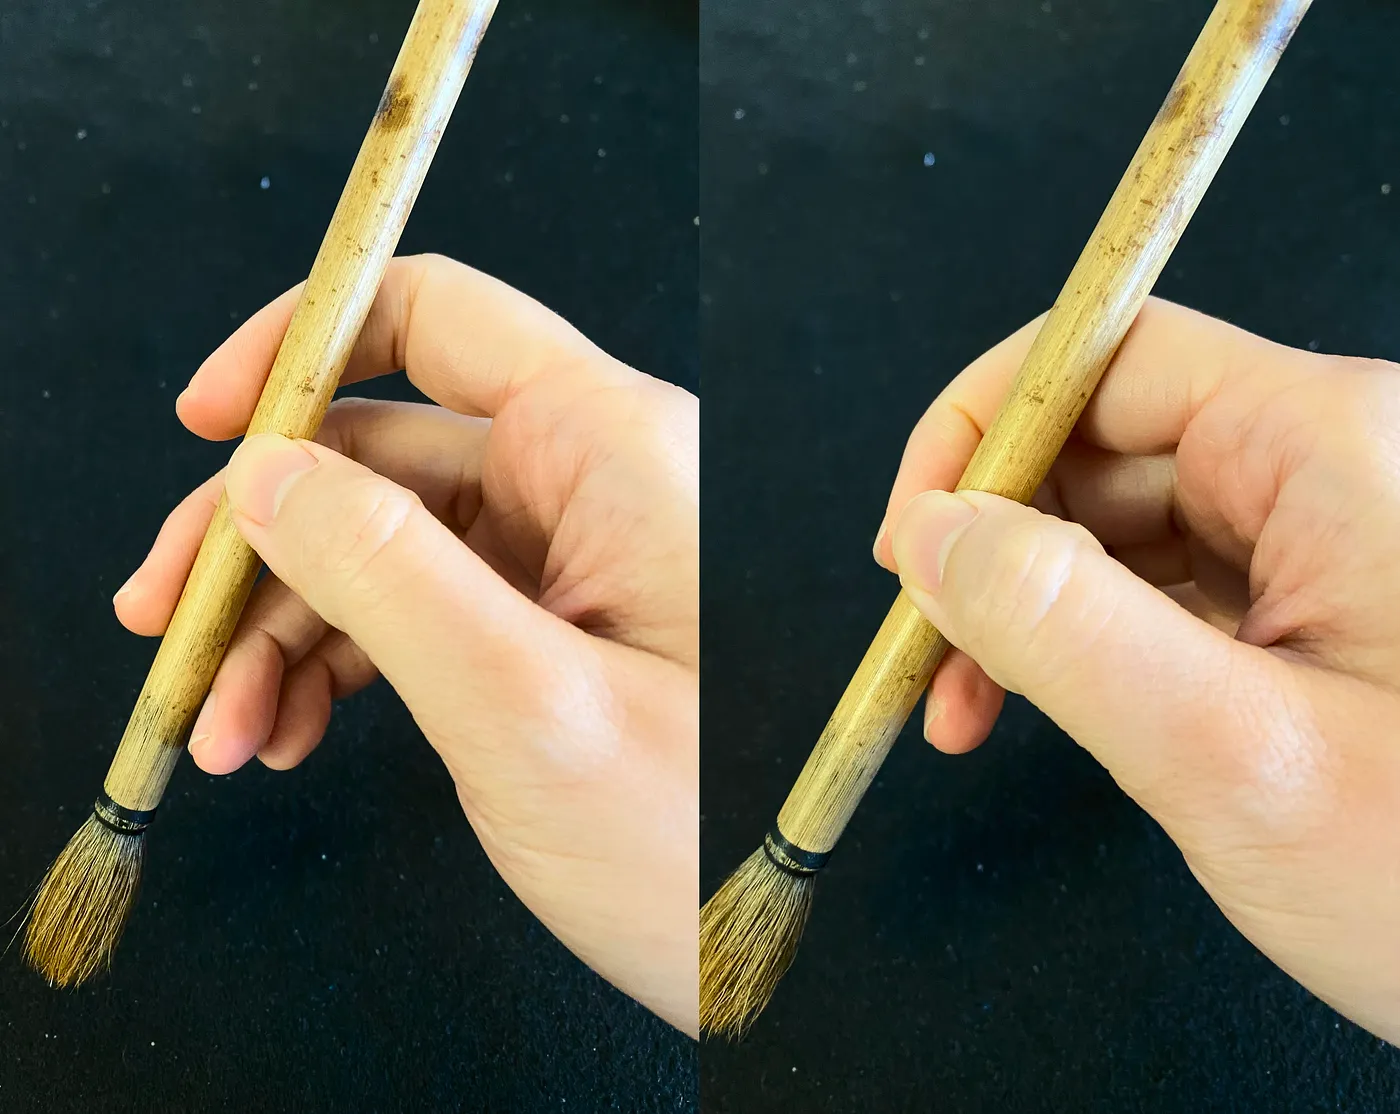
Holding the brush
The left side shows the traditional way of holding a calligraphy brush, where your index and middle fingers are in the front, and the rest on the back of the shaft.
However, I hold the brush the way I hold a pencil, as shown on the right side — with only my index finger in front. This is how one of my calligraphy teachers taught me, and I felt that it gave me more control over the brush. Choose whichever method suits you the most. Yet an important aspect that remains consistent across these different ways of holding the brush, is that your index finger and thumb should form an oval shape when viewed from the top of your hand. This creates the space necessary for the fingers to maneuver the brush. One way to practice and confirm that you’re doing this correctly, is to try and make sure you’re able to fit an egg or ping pong ball into the space in between the brush and your palm.
Ink
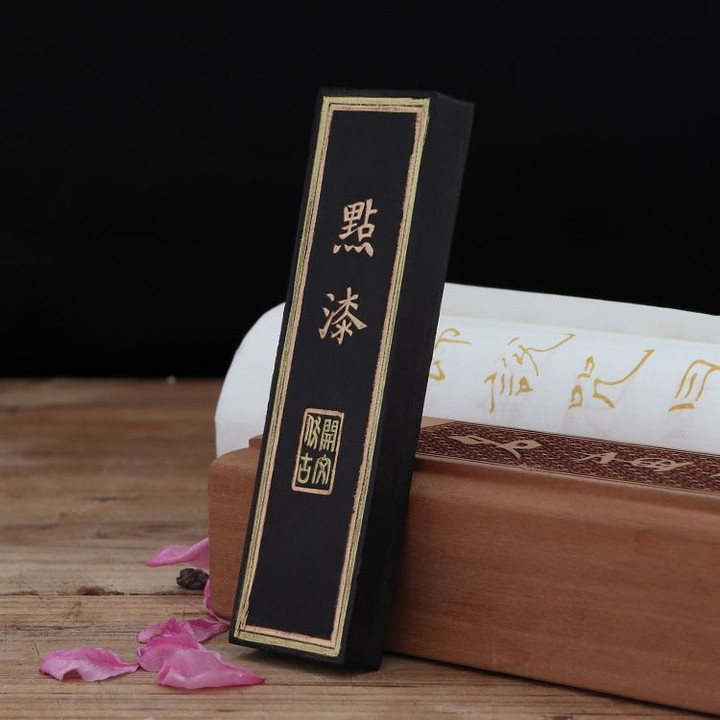
Fun Fact: Wang Xizhi (王羲之), is commonly known as one of the most famous and accomplished calligraphers in Chinese history. Unsurprisingly, there are many stories involving him and his practices that were taught in school when I was growing up, which never ceased to captivate me, and kept me motivated to work on my calligraphy. One such story, is about an “Ink Pond”. It is said that there’s a pond in China’s Jiangxi’s province where Wang Xizhi rinsed and cleaned his calligraphy brush. Due to his diligence and incessant practicing, the pond turned perpetually black, serving to prove his work ethic, and that his brilliance in the craft wasn’t innate, but rather acquired through countless years of practice.
Practical Guide: traditionally calligraphers grind ink sticks on ink stones with water to produce liquid ink for calligraphy. But for convenience sake, nowadays most people use pre-made bottled sumi inks. Ink sticks are still available in most Asian art supplies stores though! Even Amazon has them. It might not be practical to grind your own ink from ink sticks every time you practice, but it’s still a fun and meditative exercise to engage in once in a while. Ink sticks are often elaborately decorated and gorgeous, and is treated as collectibles by some.
Ink Stone
Fun Fact: Ink stones are used for grinding and containing ink, yet their production is an intricate work of art in and of itself. Though the ones you see daily often come in the size of an iPhone or smaller, some are made to be bigger than a room or building, as shown in this article.
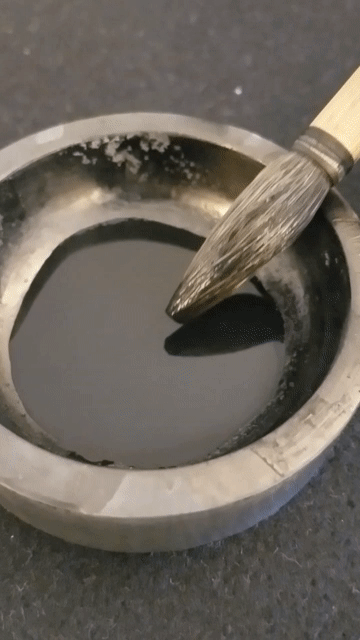
Practical Guide: Though ink stones are definitely preferred, if you choose not to grind the ink yourself, you can replace it with any other container with a distinct enough edge to smooth out the brush. Below you can see me smoothing out the brush and excess ink against the edges of the ink stone. This is something you need to do every time you dip the brush to gather more ink and before you resume writing again. And this is required, as whenever you dip the brush for more ink, it’s important to make sure that you wet the brush completely instead of just the tip. Thicker strokes are created by pushing down the brush towards the paper, utilizing the middle or upper sections of the brush; therefore you simply won’t be able to continue the strokes if only the tip of the brush has ink.
Other tools
Calligraphy paper weight
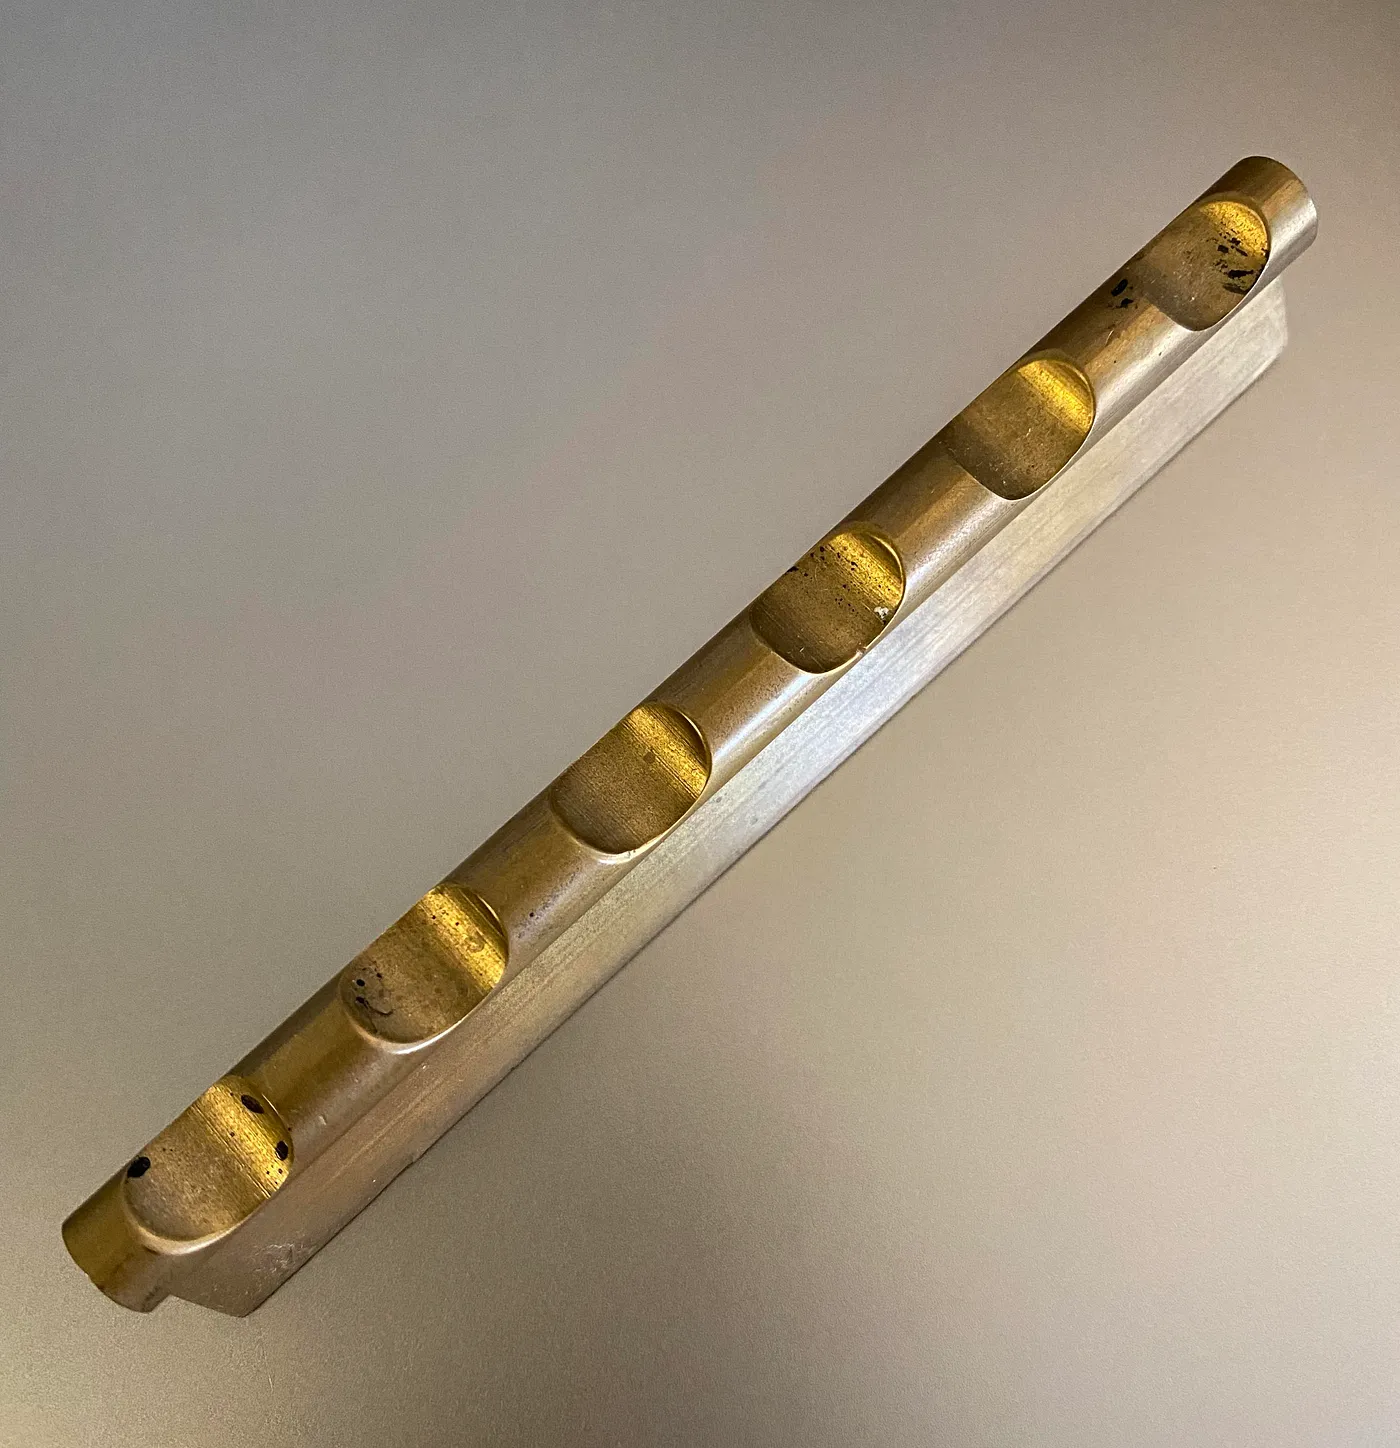
Paper weight: there are no strict requirements for the paper weights you use, as long as they are heavy enough to hold down the paper. However, the long and thin ones are most commonly used in Chinese calligraphy (as shown in photo to the left), as they can pin down more width of the paper without covering too much writing space. And when writing, the paper weights are mostly placed at the top of the paper, though feel free to adjust to whatever location suits you the best.
Calligraphy mat: It’s best to spread a large cotton mat over the table you’d be practicing calligraphy on, to prevent ink from staining the surface. The mats come in different colors, but black is the most popular as stains won’t be visible. A couple layers of newspaper will do too. Here’s a sample mat available on Amazon.
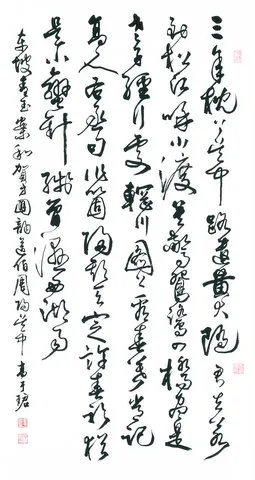
Stamps: These are nice-to-haves, but traditionally, a Chinese calligraphy work is only complete once it is stamped with the calligrapher’s customs stamps, using red ink paste. Below is a work of mine, and as you can see, there are two red stamps at the end of the work (bottom left), and two along the right edge. The two at the end of the work are “name stamps” — the first has my name, and the second my nickname; whereas the ones along the right edge are “leisure stamps”, made up of phrases that capture my spirits and work ethos. If you’re interested, a quick search on Amazon yields plenty customizable seal stamp options, as well as red ink paste.
The Warm-up
Enough with the content! Let’s get our hands dirty and start doing something with all these tools. Here I’d like to show you a 5 minute warm-up exercise that I do every single time before I practice, up till this day, even after I’ve been practicing calligraphy for over 20 years.
It’s called “knitting and pony tail” — and it’s a great warm-up exercise as it makes use of the most common arm motions when writing Chinese calligraphy.
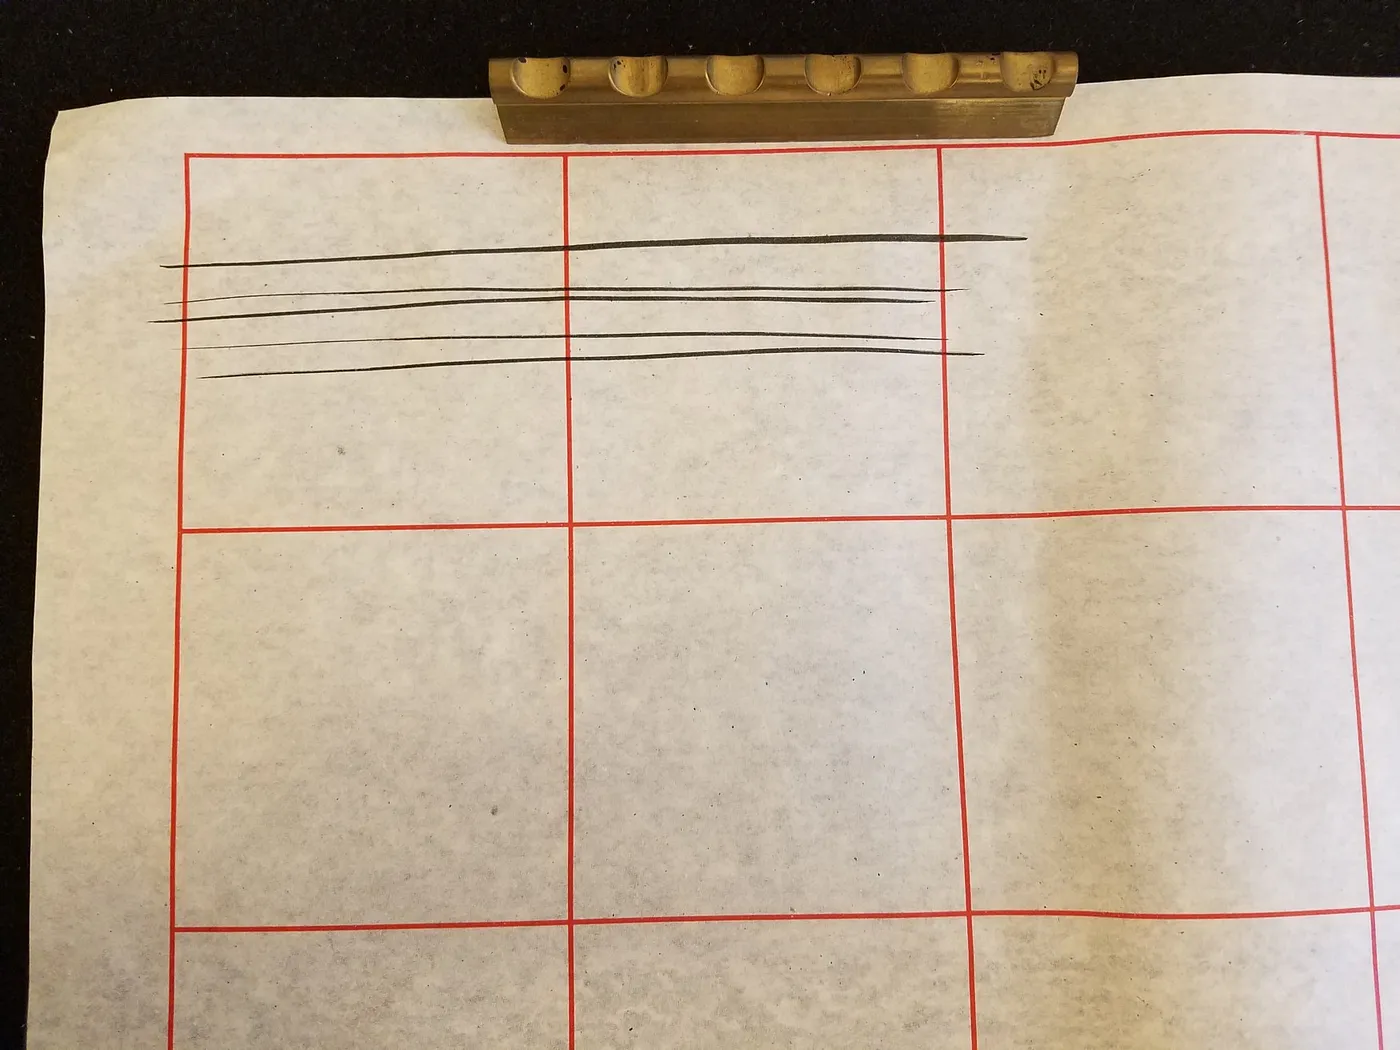
For knitting, you start off with drawing horizontal lines left to right. You want them to be swift, clean, thin, and as long as possible.
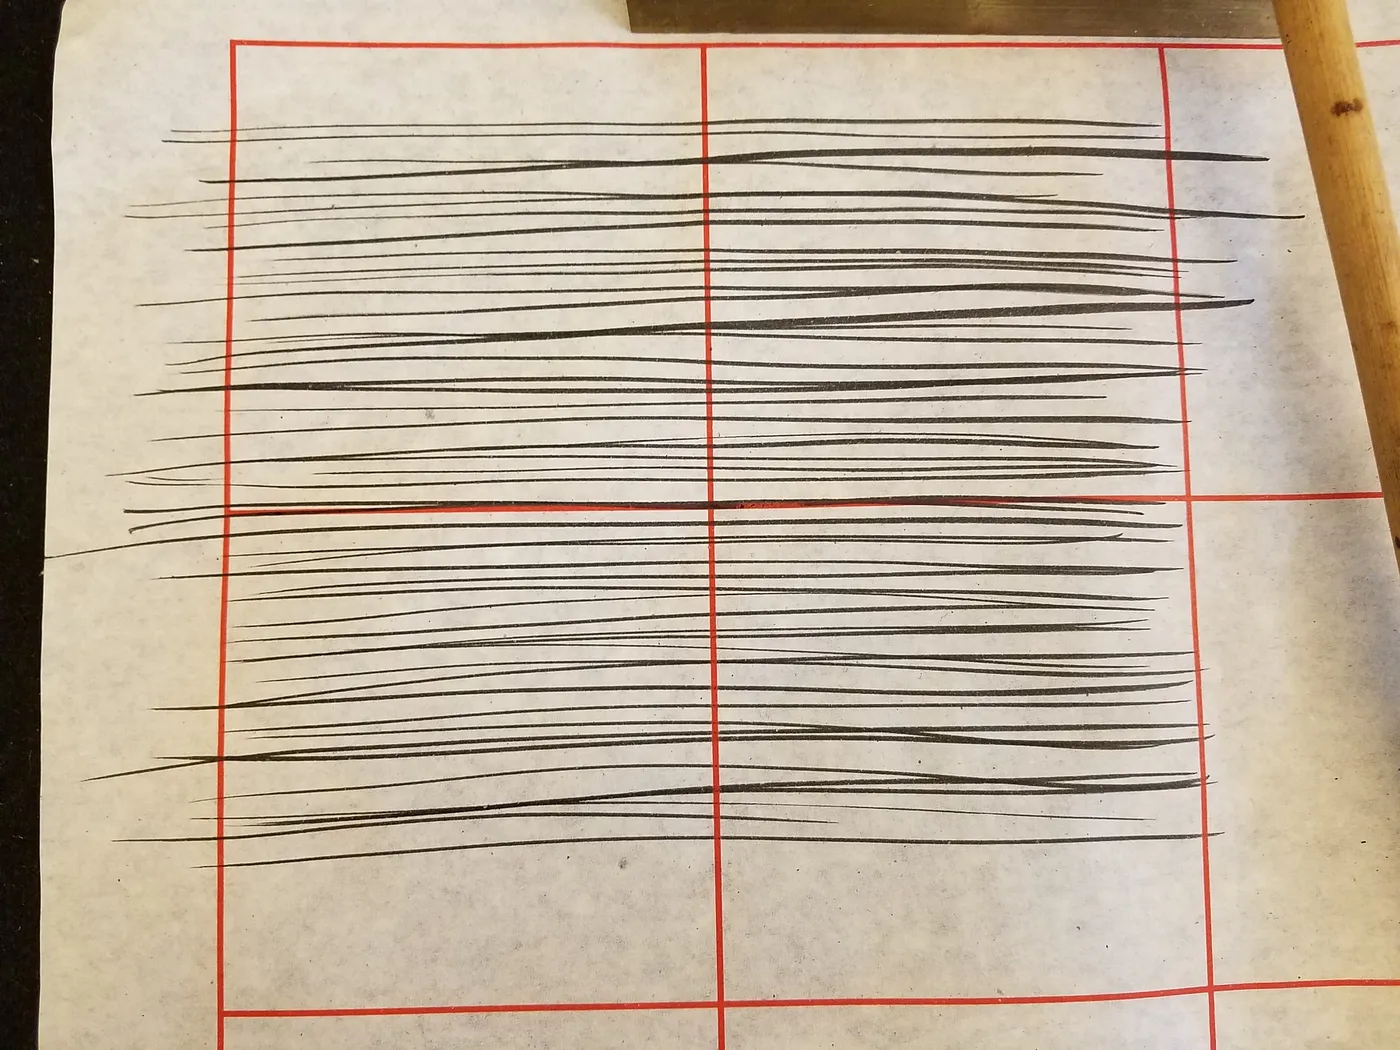
And you gradually fill it out like you’re knitting a rug.
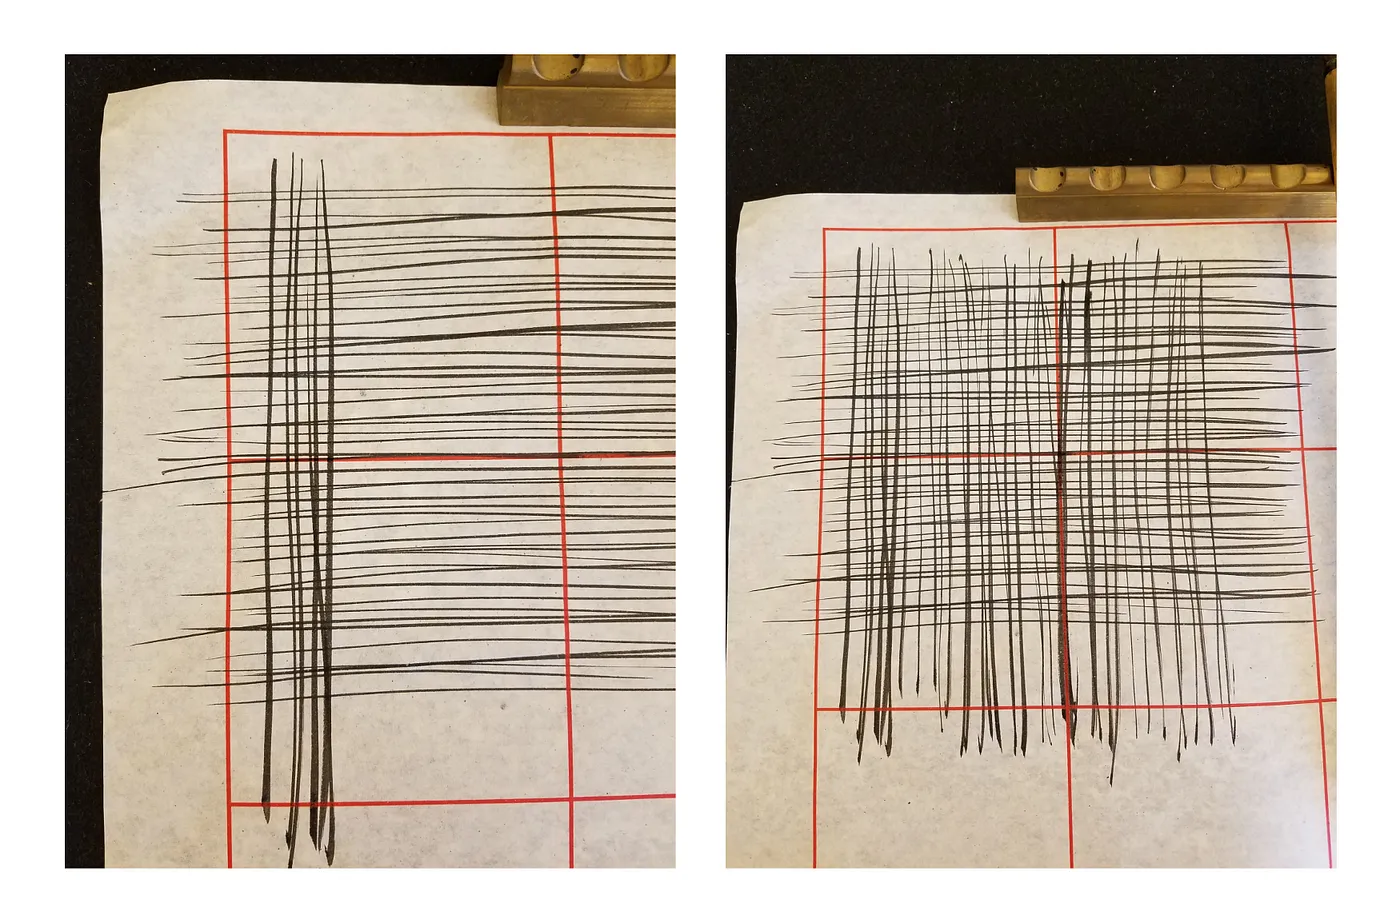
Then proceed with vertical lines, drawing from top to bottom, and also fill out the page. While knitting, you don’t want to move your fingers or wrist — rather the whole arm should be moving in the direction of the line, bringing the hand and brush along with it.
As for pony tail, we first draw the outline. We then fill it in — the concept is similar to knitting, but instead of straight lines, we are now working with curved ones.
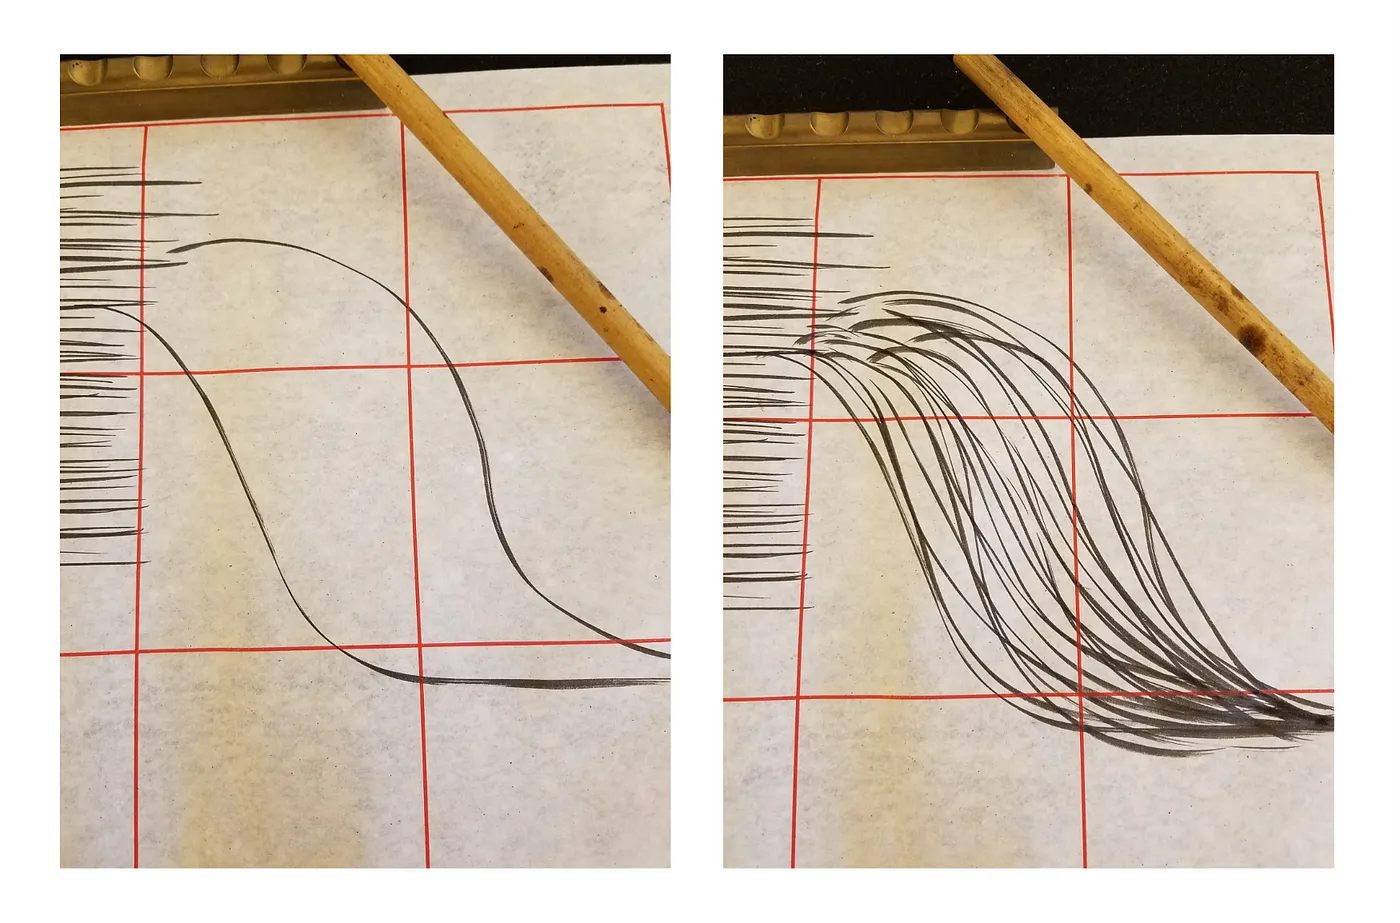
We then repeat in the other direction. And regardless of the directions, the stroke always starts from the top, and ends in the bottom.
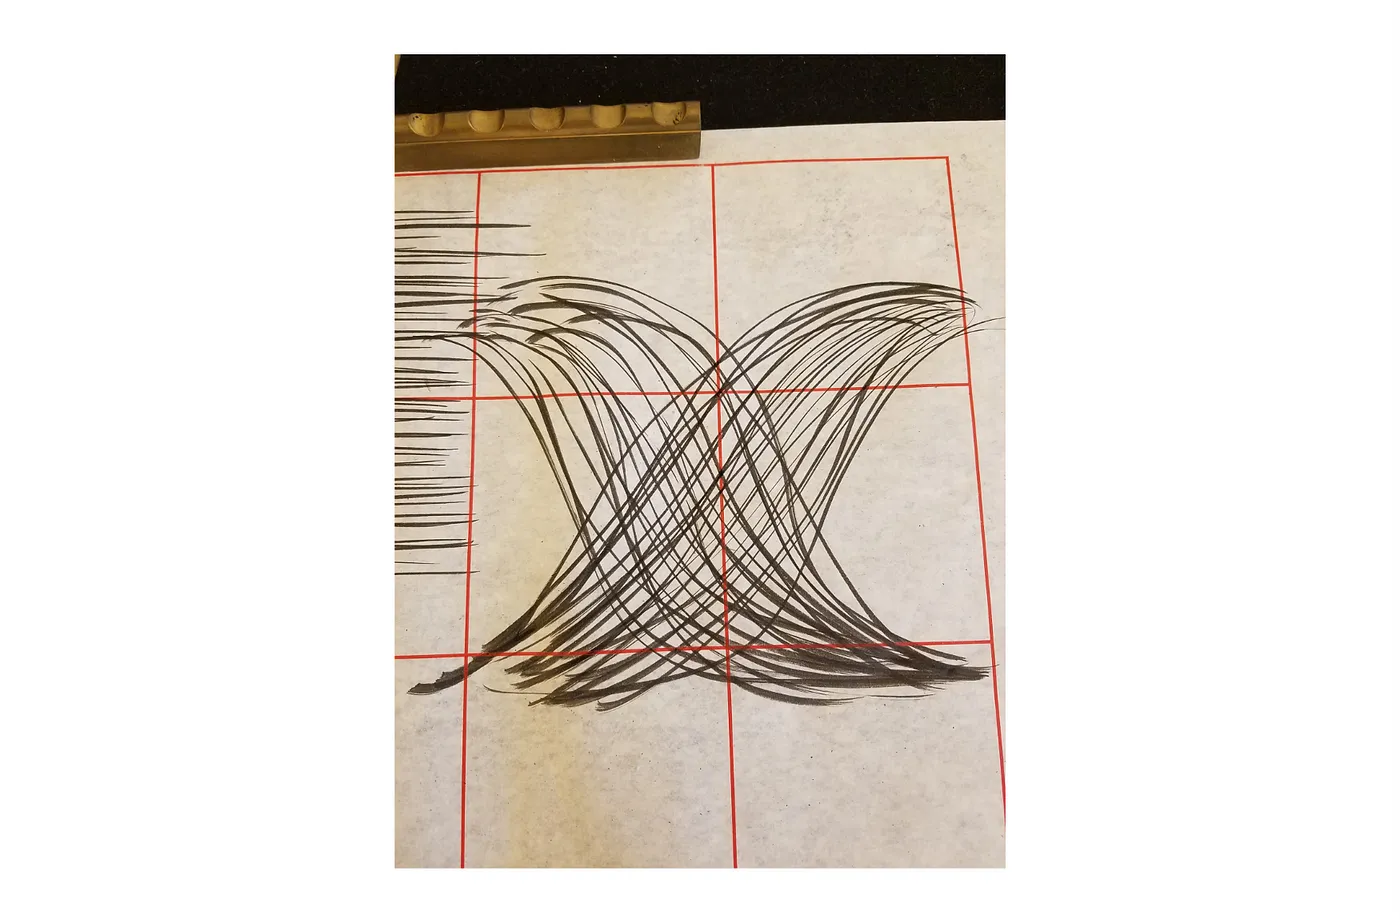
If you’re still with me, I’m sending you a big virtual hug 🤗 This is a lot to take in in one setting, but I believe what I share here is crucial, as Chinese calligraphy is more than just tools and a craft, but rather a tradition that’s deeply intertwined with Chinese history, culture, literature and many aspects of daily life. And this, for me, is what makes Chinese calligraphy so very fascinating. In the next post, we’re finally going to start learning and writing the basic strokes of Chinese characters in calligraphy. Until then!